
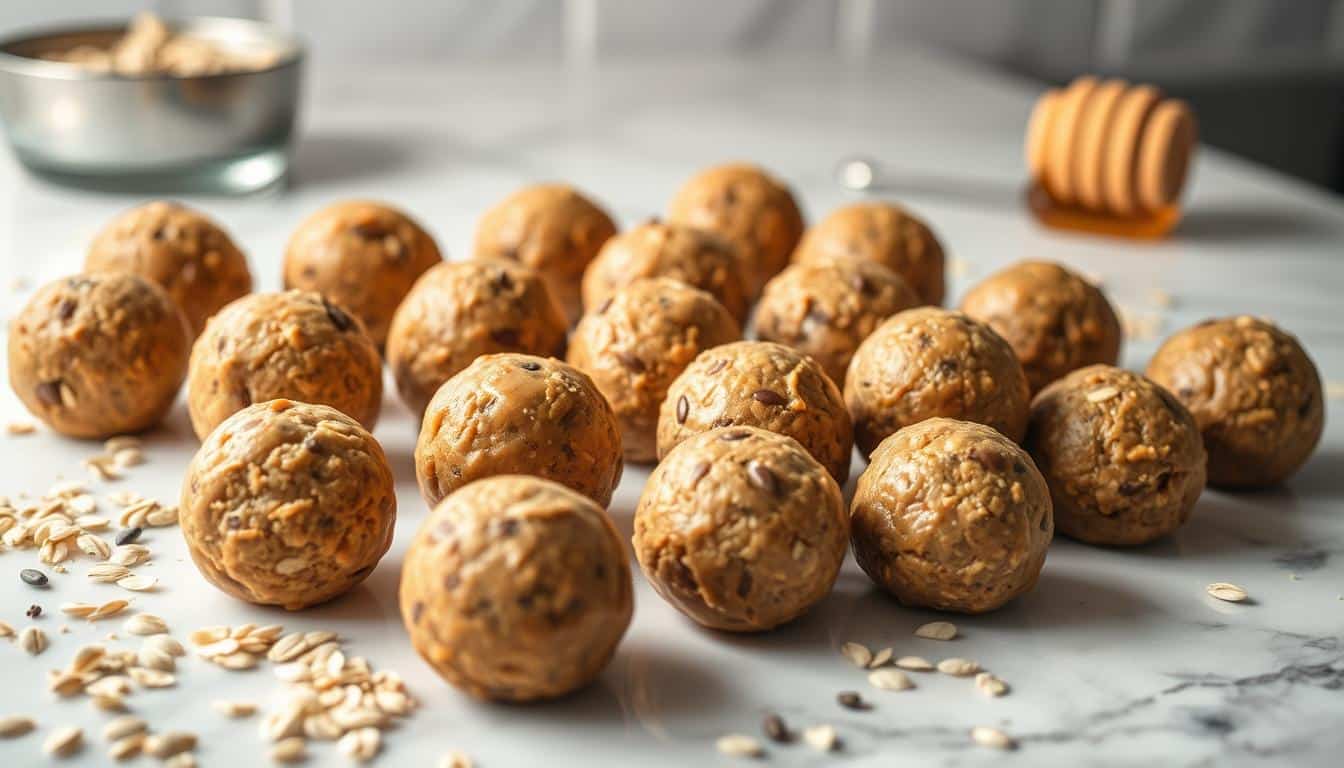
Looking for a quick, nutritious snack to fuel your active lifestyle? Homemade energy balls are the perfect solution. Packed with simple ingredients like oats, peanut butter, and a touch of chocolate, they’re easy to make and even easier to enjoy.
Whether you’re hitting the gym, chasing after kids, or need a mid-afternoon pick-me-up, these portable snacks deliver lasting fuel. Plus, they’re gluten-free when using certified oats, making them a versatile choice for almost anyone.
Ready to discover how to create your own? This proven recipe has been tested through pregnancy, breastfeeding, and daily workouts, ensuring it’s both delicious and effective. Let’s get started!
Introduction to Energy Balls for Pre-Workout
Want a bite-sized treat that fuels your fitness goals? Energy balls are the ultimate snack for active lifestyles. Packed with carbs, protein, and fiber, they provide quick fuel and lasting energy.

Each ball contains 108 calories, 6.5g of sugar, and 2.2g of protein. This balance supports your workout without causing sugar crashes. Plus, they’re easy to make and perfect for on-the-go snacking.
Here’s why you’ll love them:
- They combine fast-acting carbs like honey with sustaining fats from nuts or peanut butter.
- Their portable format beats messy shakes during commutes or gym sessions.
- You can freeze them for weeks, making prep a breeze.
- They’re gluten-free and dairy-free, adapting to most dietary needs.
| Nutrient | Amount per Ball |
|---|---|
| Calories | 108 |
| Sugar | 6.5g |
| Protein | 2.2g |
| Carbs | 10g |
With this simple recipe, you can whip up 60 balls in just 20 minutes. They’re a delicious, nutritious way to stay fueled and focused throughout your day.
Ingredients for Energy Balls
Ready to whip up a snack that’s as healthy as it is delicious? The secret lies in the ingredients. Whether you’re a fan of classic flavors or love to experiment, this recipe offers flexibility to suit your taste. Let’s dive into the essentials and optional add-ins that make these treats a hit.
Essential Ingredients
Start with a base of old-fashioned oats. They’re packed with fiber and provide the perfect texture. For binding, natural peanut butter works wonders. Brands like Kirkland Signature are ideal for their smooth consistency and lack of added oils.
Sweeten things up with local honey. It’s not just a natural sweetener—it may also offer allergy benefits. If you prefer, swap it for maple syrup, but add extra oats to balance the moisture.

Optional Add-ins
Customize your recipe with mix-ins like Trader Joe’s cacao nibs. They add a rich chocolate flavor without melting like regular chocolate chips. For crunch and a boost of vitamin E, toss in raw sunflower seeds.
Want to up the protein? Add a scoop of protein powder, but limit it to 2 tablespoons for easy digestion. Other great options include chia seeds, shredded coconut, or a splash of vanilla extract for extra flavor.
Salted nuts are another fantastic addition. They enhance the taste and help replace electrolytes lost during intense activities. With these ingredients, you’re all set to create a snack that’s both nutritious and satisfying.
How to Make Energy Balls
Need a snack that’s quick to make and keeps you going? This recipe is perfect for busy days. With just a few steps, you’ll have a batch of tasty, bite-sized treats ready in no time. Let’s dive into the process!
Step 1: Mix Dry Ingredients
Start by combining your dry ingredients in a large bowl. Add old-fashioned oats, chopped nuts, and seeds. If you’re using whole nuts, chop them finely for a consistent texture. This mixture forms the base of your snack.
Step 2: Prepare Wet Ingredients
Next, heat peanut butter and honey in the microwave for 60 seconds. This creates a smooth, pourable binder that’s easy to mix. Once heated, pour the wet ingredients into the bowl with the dry mixture. Stir thoroughly, scraping the edges to ensure everything is well combined.
Step 3: Form the Balls
Wet your hands slightly to prevent sticking. Scoop the dough using a tablespoon or cookie scoop for even sizing. Roll each portion into 1-inch balls. Place them on a parchment-lined tray for easy handling.
Once all the balls are formed, freeze them for 2 hours. This step prevents clumping when you store them. After freezing, transfer the balls to a sealed bag or container. Keep them in the freezer for long-term storage or the fridge for quick access.
| Storage Method | Thawing Time |
|---|---|
| Freezer | 10 seconds in microwave |
| Fridge | 5 minutes at room temperature |
With these simple steps, you’ll have a batch of delicious, portable snacks ready in just 20 minutes. Perfect for fueling your day or recovering after a workout!
Storing Your Energy Balls
Want to keep your snacks fresh and ready whenever you need them? Proper storage ensures your homemade treats stay delicious and nutritious. Here’s how to do it right.
In the fridge, your bites will last 1-2 weeks when stored in airtight containers. Glass jars are perfect for grab-and-go convenience. For longer storage, the freezer is your best friend. Pack them in ziplock bags, and they’ll stay fresh for up to 4 months.
To prevent your balls from fusing together, freeze them in a single layer first. Once solid, transfer them to a bag. Label the bag with the date to keep track of freshness. Thaw only what you need—thawed bites maintain their texture for up to 3 days.
In humid climates, add silica gel packs to your storage containers. This keeps moisture at bay and preserves the flavor and texture of your snacks.
| Storage Method | Duration |
|---|---|
| Fridge | 1-2 weeks |
| Freezer | Up to 4 months |
| Thawed | 3 days |
With these tips, you’ll always have a stash of fresh, tasty snacks ready to fuel your day. Enjoy the convenience and flavor of your homemade treats!
Variations of Energy Balls
Craving a versatile snack that fits your dietary needs? These recipes let you customize your bites to match your taste and lifestyle. Whether you’re avoiding nuts, boosting protein, or adding a tropical twist, there’s a version for you.
For a banana-based option, swap honey with mashed fruit. It’s a natural sweetener packed with potassium. If you prefer a chewy texture, try date-nut bites. Soaked Medjool dates act as the perfect binder, adding natural sweetness and fiber.
Need a nut-free version? Sunflower seed butter is your go-to. Pair it with pumpkin seeds for extra crunch and nutrients. For a grain-free twist, replace oats with almond flour. It’s a great option for those avoiding gluten or grains.
Want to boost your protein intake? Add 2 tablespoons of protein powder to the mix. Vanilla-flavored powder works best, but adjust the honey to balance the sweetness. For a tropical vibe, swap cacao nibs for shredded coconut and toss in dried pineapple.
If you’re in the mood for something festive, add cinnamon and orange zest for a holiday twist. Prefer bars over bites? Press the dough into a pan, chill, and slice into portable bars. It’s a quick and easy way to enjoy your snacks on the go.
These variations are perfect for anyone looking to mix up their snack game. For more ideas, check out these healthy desserts for athletes. With so many options, you’ll never get bored of your homemade treats!
Conclusion
Ready to elevate your snack game with a simple, nutritious treat? This recipe is your ticket to a healthier, more flavorful lifestyle. With just a few ingredients like oats and peanut butter, you can whip up a batch in under 30 minutes. Perfect for busy days or post-workout refueling!
Customize the flavor weekly to keep things exciting. Add nuts, seeds, or a dash of cinnamon for variety. Double the batch and freeze half for those hectic weeks when time is tight. Share them with friends—they’ll love the taste and ask for the recipe!
Tag your creations with #EnergyBallRecipes to inspire others. Whether you’re fueling up or enjoying a quick snack, these bites are a game-changer. Start tonight and see the difference!